
(I posted this from Word 2007, dunno that it brought the images over correctly, WP seems to have truncated them. Here is a 3MB PDF: MSSQL_2_MySQL. Hope y’all find this useful!)
I decided to write this guide due to the fact that I had a large db migration project that I’ve been working on over the past few weeks and there’s a definite lack of accurate & thorough, step-by-step documentation on how to do this.
A couple of assumptions are made:
- Admin access to a functioning MySQL db Server (able to create db’s, db users, permissions, etc), preferable to have access via phpMyAdmin.
- Access to a .BAK backup file, from the MSSQL db you want to migrate
Part One: Download and install MS SQL Server 2008 Express (with Tools)
- You can get the download from here: http://www.microsoft.com/sqlserver/en/us/editions/express.aspx
- Pick the version that most fits your situation, I’m using 64-bit Window 7, so I chose “Download 2008 R2 64-BIT Database w/Tools”
-
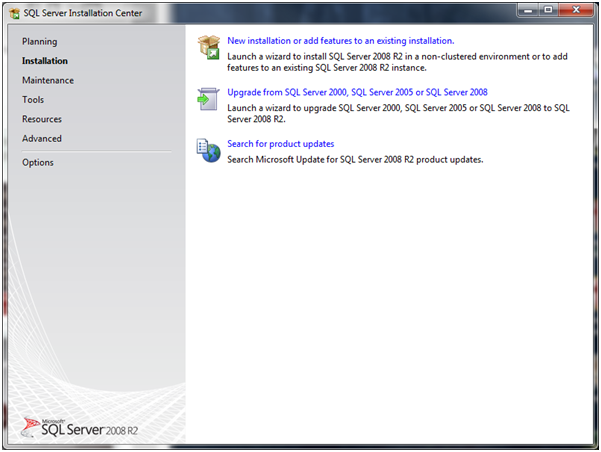
Install the MSSQL Express package (NOTE: After installation, run MS Update to make any patches):
-
Choose “New Installation…”
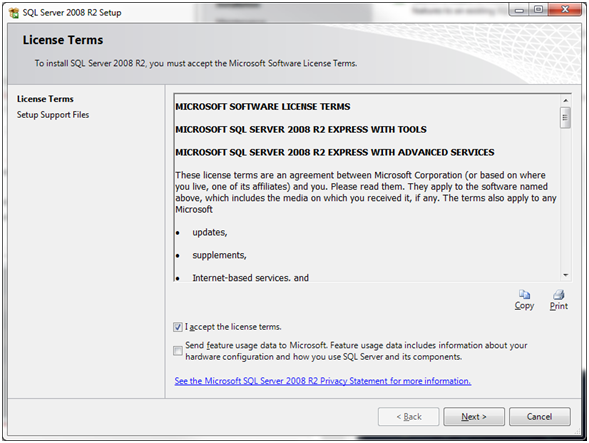
b. Accept the License Terms and click “Next:”
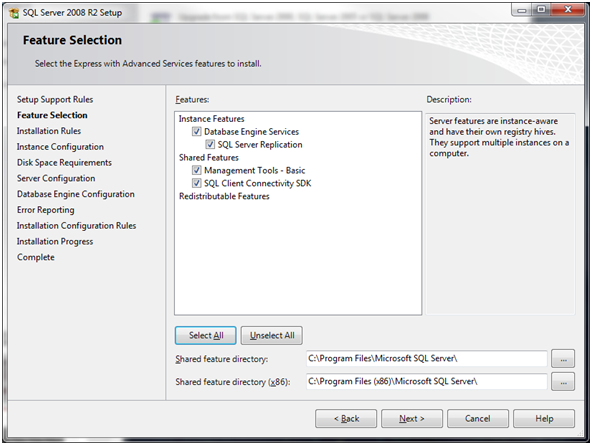
c. “Select All” and set the install directories (I just left them default) and click “Next:”
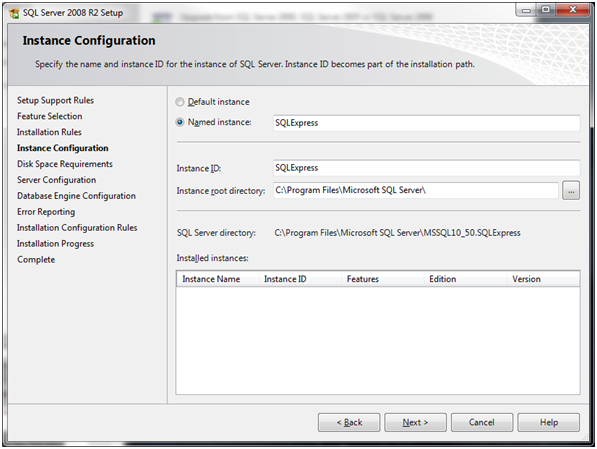
d. Instance Configuration; I left everything default and clicked Next:
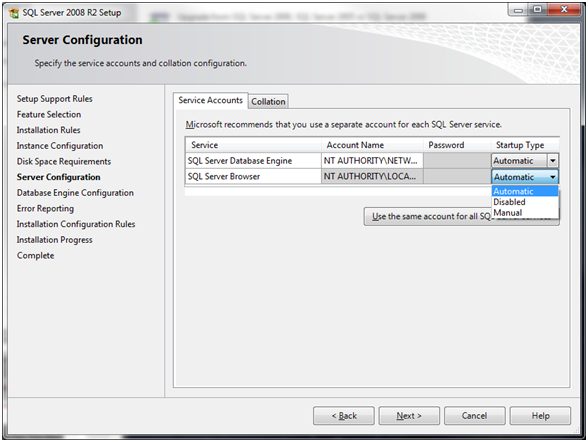
e. Server Configuration; Change “SQL Server Browser” to “Automatic” from the drop-down:
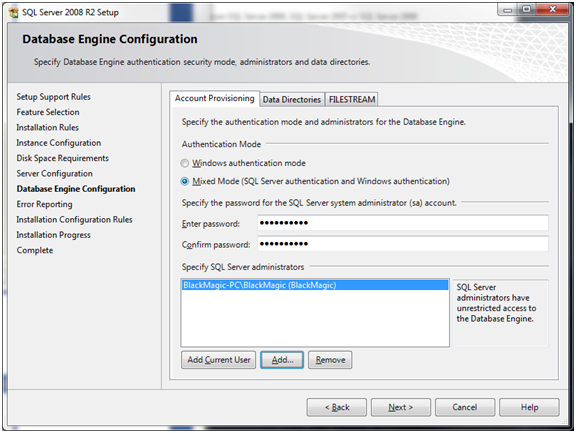
f. Database Engine Configuration; Set to “Mixed Mode” and enter the sa (system administrator) password – remember this password, you’ll need it later!
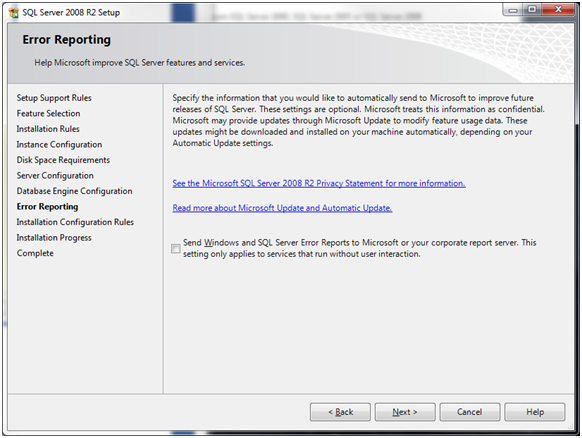
g. Error Reporting; just leave it un-checked and hit Next:
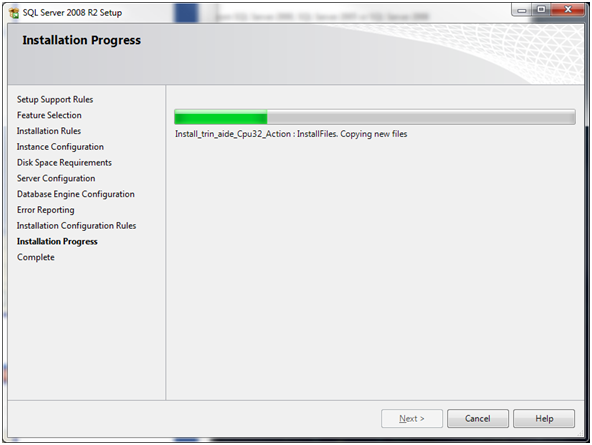
h. Installation Progress; If all went well you should get a screen similar to this:
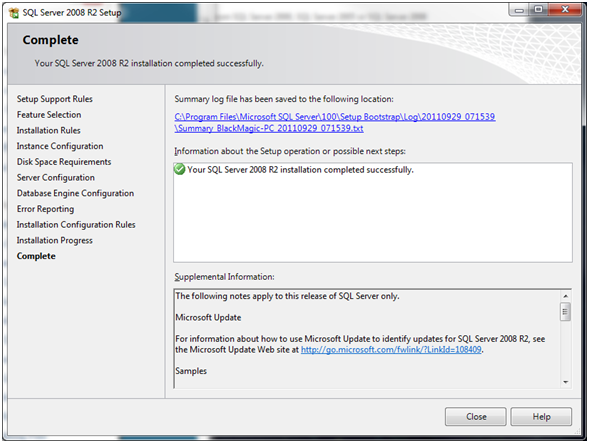
i. Complete; at the end you should get this final window:
-
Part 2: Post Installation Configuration
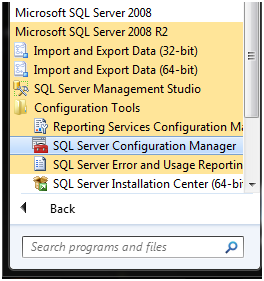
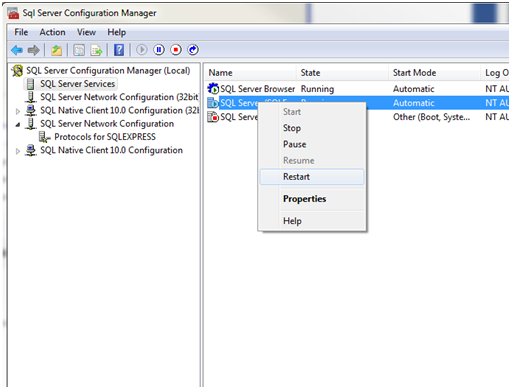
1. Start up the SQL Server Configuration Manager:
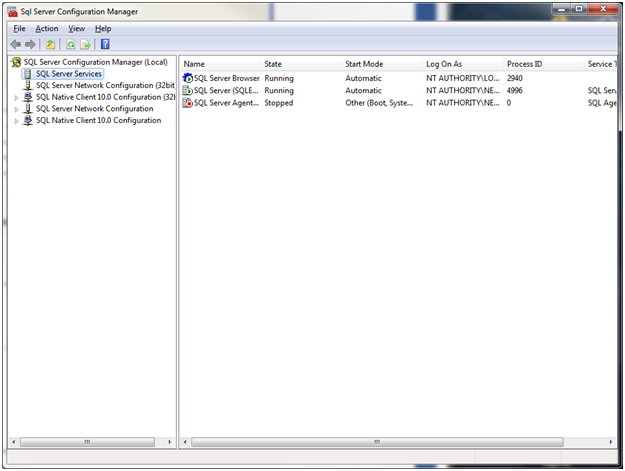
2. Select “SQL Server Services” and verify that “SQL Server Browser” & “SQL Server” are “Running” and “SQL Server Agent” is “Stopped”
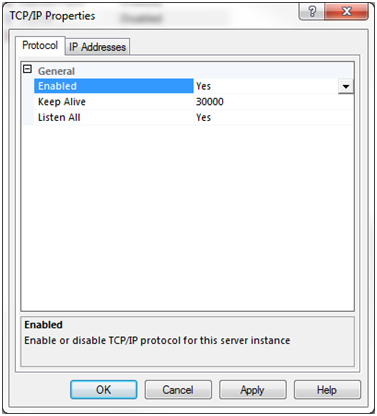
3. Now select “SQL Server Network Configuration” and click on “Protocols for SQLEXPRESS”
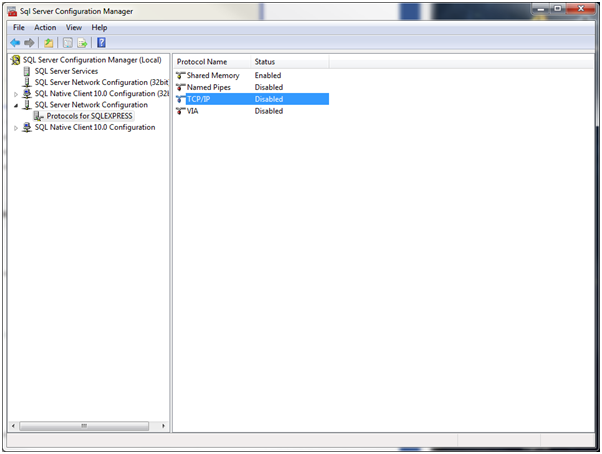
4. Right-click on TCP/IP and select “Properties” and set the drop-down for “Enabled” to “Yes”
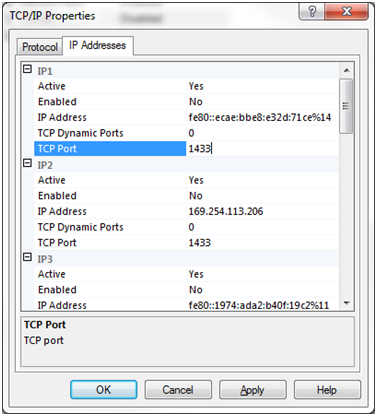
5. Open the “IP Addresses” tab within the TCP/IP Properties window and set all of the IP TCP Port settings to 1433 (they’re all blank by default, I had to set ten of these on my config):
6. For the changes to take effect, you need to restart the server:
Part 3: Creating a db from a .BAK file
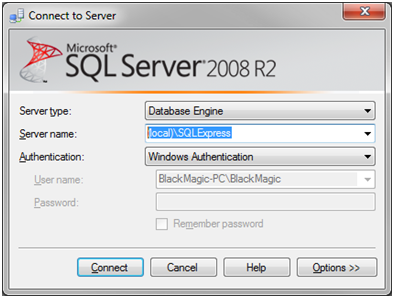
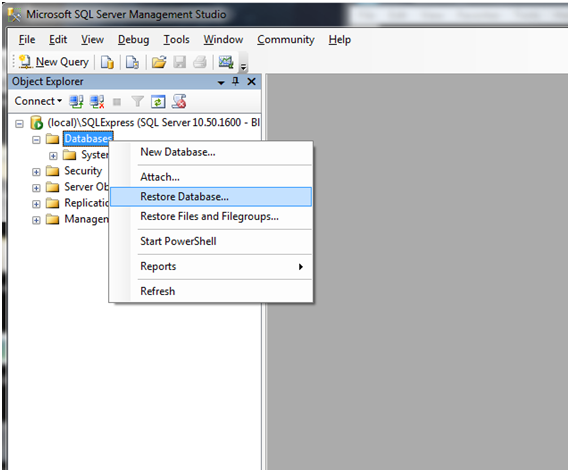
1. Start up the “Microsoft SQL Server Management Studio” – If this is the first time you’ve run the Management Studio, you will need to fill in the server name (as shown if you installed w/ defaults):
2. Right-click on “Databases” and select “Restore Database…”
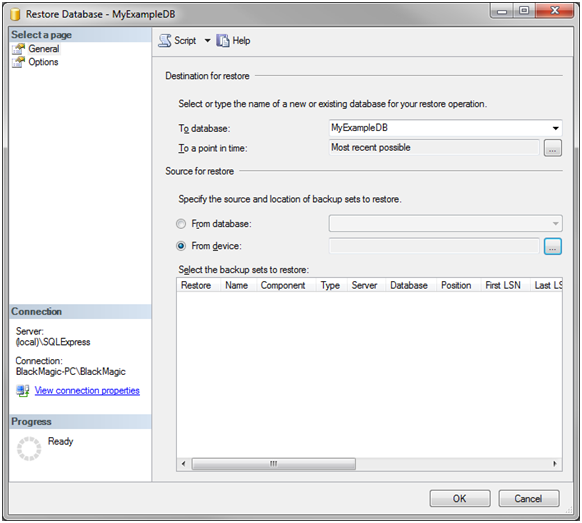
3. Give your db a name in the “To database:” field and click the “From Device” radio-button:
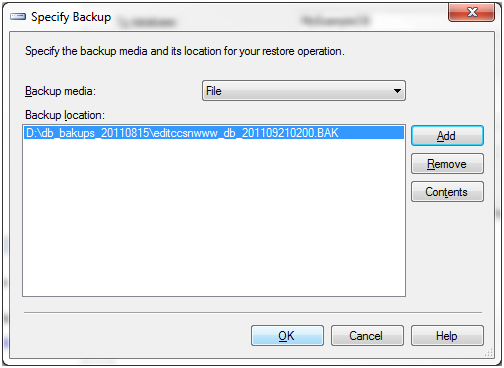
4. Open the file browser using the “…” button, and “Add” your .BAK file
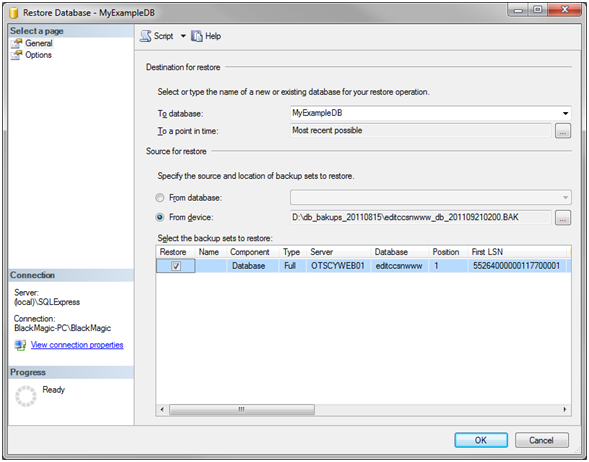
5. Be sure to place a check-mark next to the backup sets! Then click “OK” to start the process
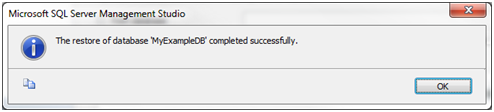
6. Hopefully you will get the “…completed successfully.” window:
Part 4: Download & Install MySQL GUI Tools
- The installer package (.msi) is available here: http://dev.mysql.com/get/Downloads/MySQLGUITools/mysql-gui-tools-5.0-r17-win32.msi/from/pick#mirrors
-
After starting the installer you may get a notice like this, just click “OK”
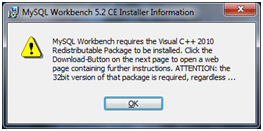
- On the “Setup Wizard” click the “Download Prerequisites” to be redirected to a page that allows you to download them (Microsoft .NET and Visual C++ package)
-
Once you have the prerequisites installed. Start (restart) the MySQL Tools installer (click Next, accept the License and click Next):
-
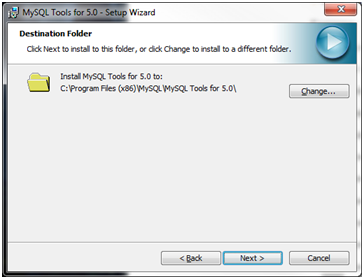
Destination Folder (I just used the default):
-
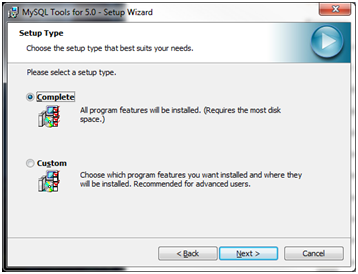
Setup Type (I used “Complete”):
-
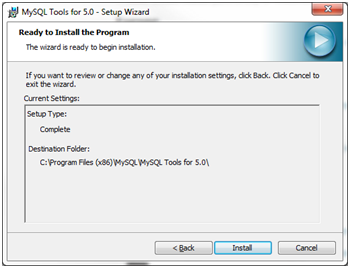
Ready to Install (just click “Install”)
-
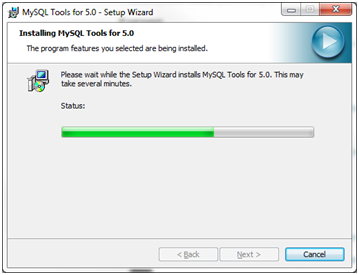
You should get the “Installing…” Screen:
-
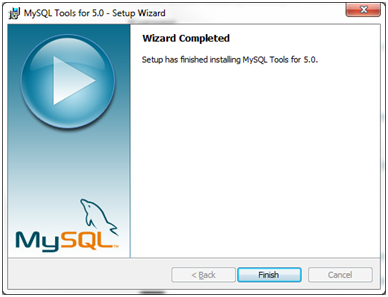
And finally the “Wizard Completed” window (click “Finish”):
I initially tried using the “New” MySQL Workbench, but it’s basically worthless for doing db migration. So you need to download this “End-of-Life” product, that is actually more useful than its new replacement. From what I could see, the new Workbench is just a poorly implemented replacement for phpMyAdmin – trust me, just stick with phpMyAdmin, and this GUI Tools package.
Part 5: Migrating a Local MS SQL Server 2008 Express db to a Remote MySQL db
1. Open the MySQL Migration Toolkit (You will need the latest java JRE to run this application)
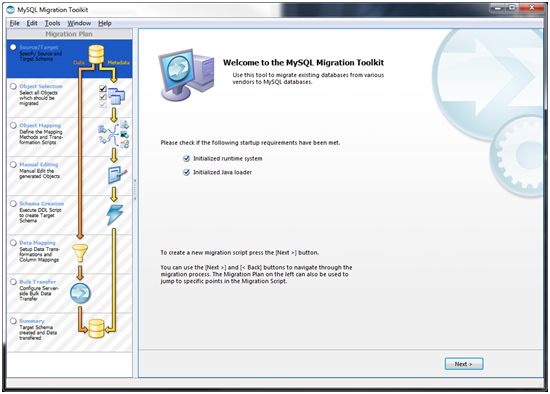
2. Click Next until you get to the Source Database page.
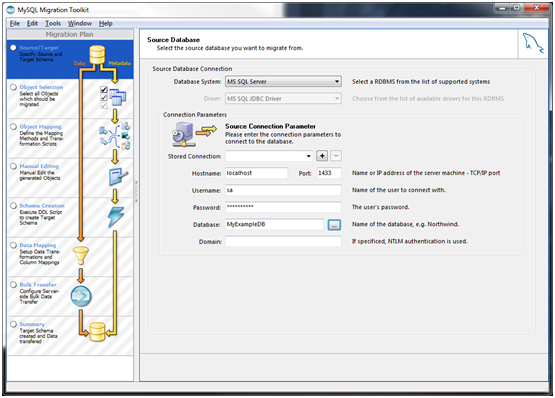
a) Select MS SQL Server for the Database System
b) use “localhost” for Hostname and 1433 for the Port number
c) Use the “sa” account and password you created when installing MS SQL Server Express
d) To ensure the db connection works, use the “…” button to connect to the server and select the db from a drop down list. (if the “Next” button isn’t showing – as above – click in the Domain field and click Next.
3. Target Database
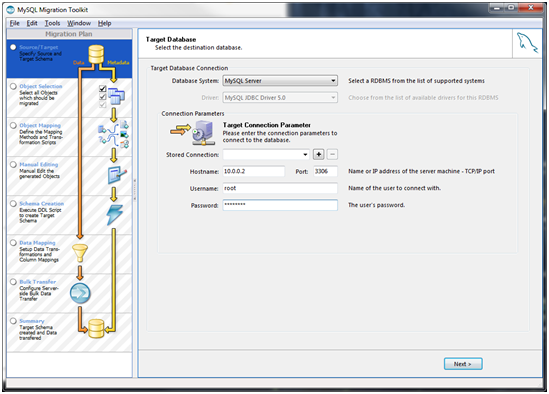
a) Enter your MySQL db Server information. You do not have to use the root account, as long as the account you use has full admin privs.
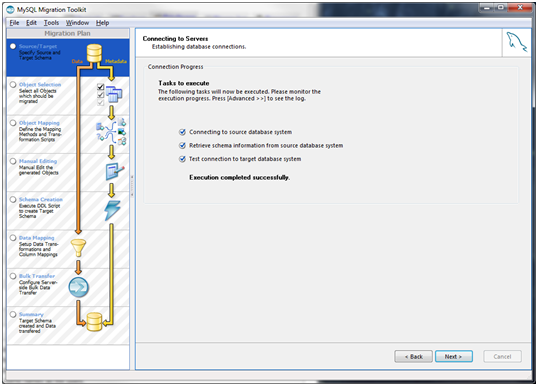
4. Connecting to Servers. If all goes well, you should arrive at this screen: (click Next)
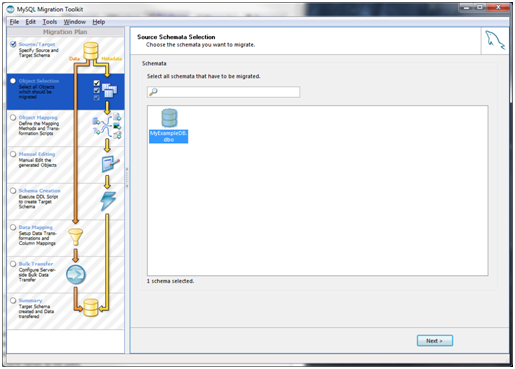
5. Source Schemata Selection. Highlight the source db: (click Next)
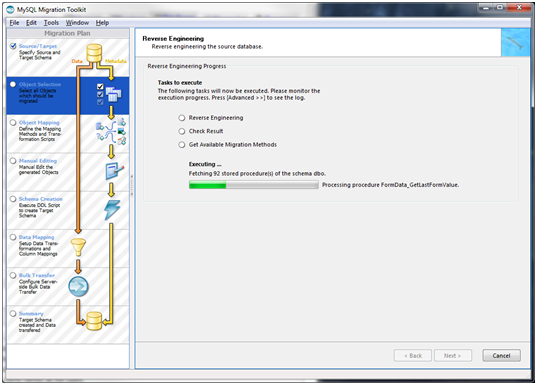
6. Reverse Engineering. You’ll get a screen like the following, when the progress bar is done, all of the boxes should be checked; click Next.
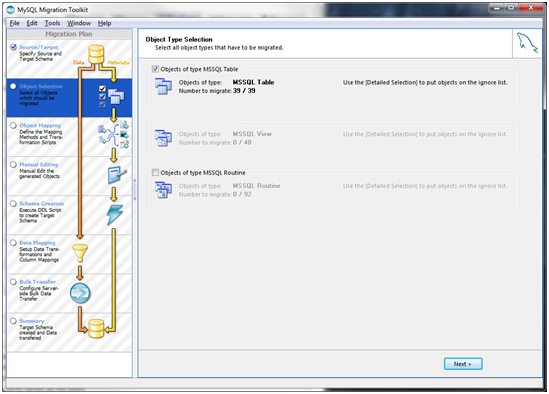
7. Object Type Selection. Just use the default and click Next.
8. Object Mapping. Just leave everything as is (MS SQL to MySQL) and click Next:

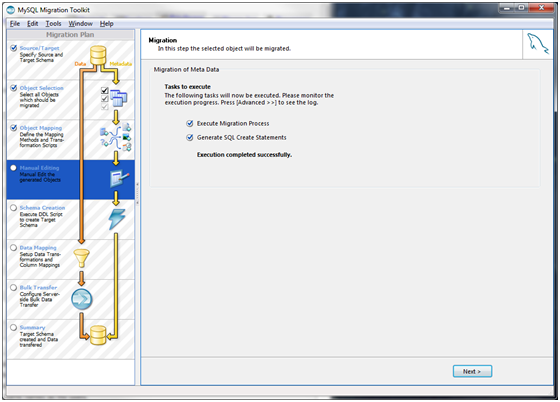
9. Migration. You should get a brief progress bar, and then this page. Click Next
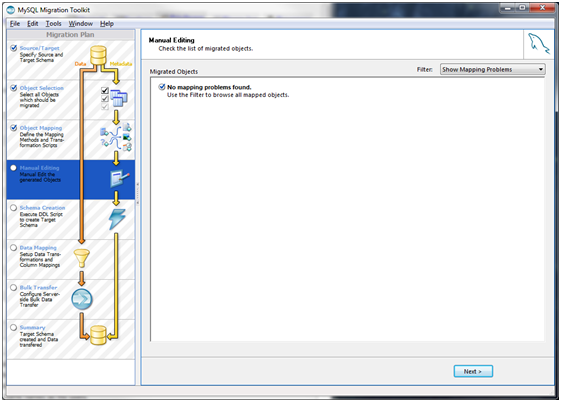
10. Manual Editing. If no issues are found, you should get this page. Click Next
11. Object Creation Options. Click Next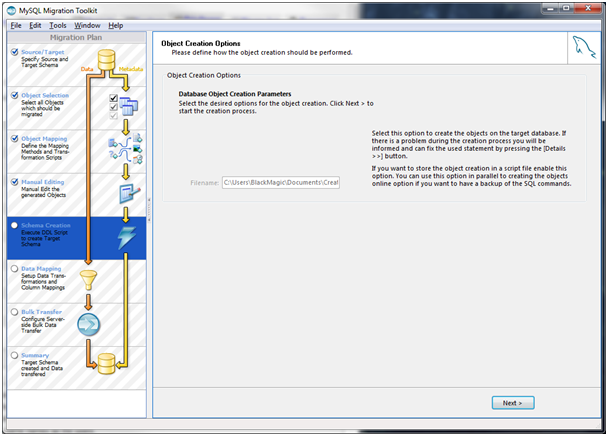
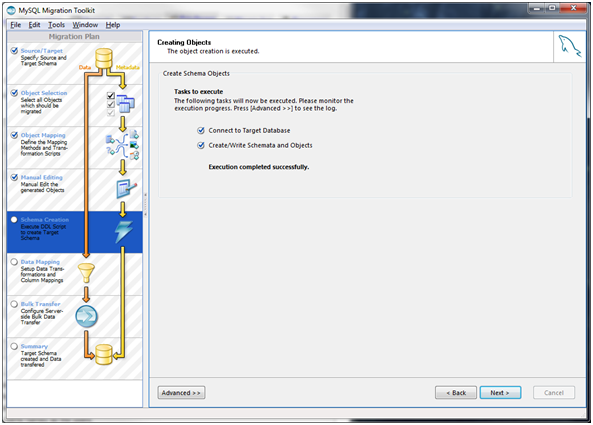
12. Creating Objects. After a brief progress bar you’ll get this window. Click Next.
13. Creation Results. This is where you will most likely run into any issues.
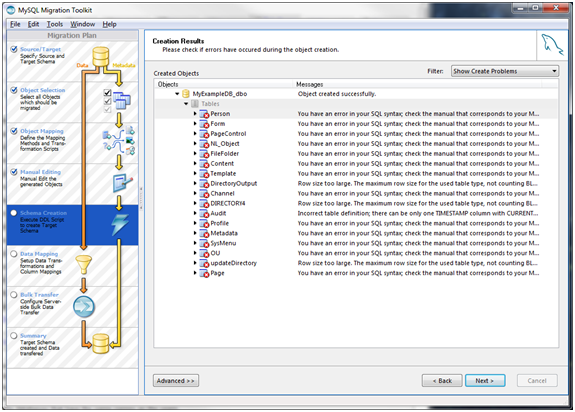
a) Click the “Advanced >>” button so you can edit the offending SQL statements:
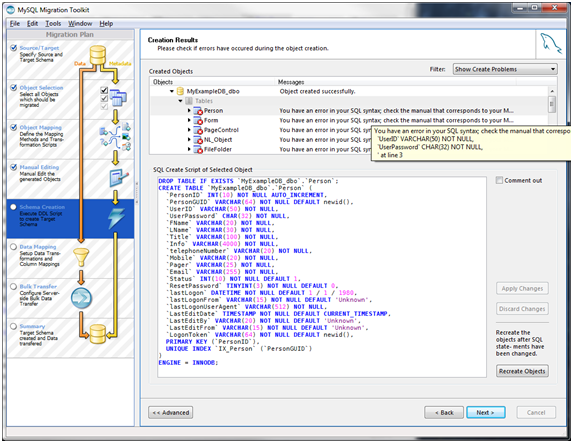
Adjust the window so you can see the entire MySQL statement. And hover your mouse over the error to read exactly what was causing the problem. In this case the MSSQL function newid() would normally be changed to uuid(), however the way MySQL is structured, you cannot use functions to set default values. So here, I’m just going to opt for setting the default as NULL (since the data is already in the table). Then “Apply Changes” and “Recreate Objects” to see if that takes care of the problem. Once I get the first problem statement figured out. I go ahead and edit the other, en masse. After making corrections, just remember to click the “Apply Changes” button, then move onto the next statement. When you’re all done, Re-Try by clicking the “Recreate Objects” button. Once all of your MySQL errors have been taken care of, you will get to the next screen
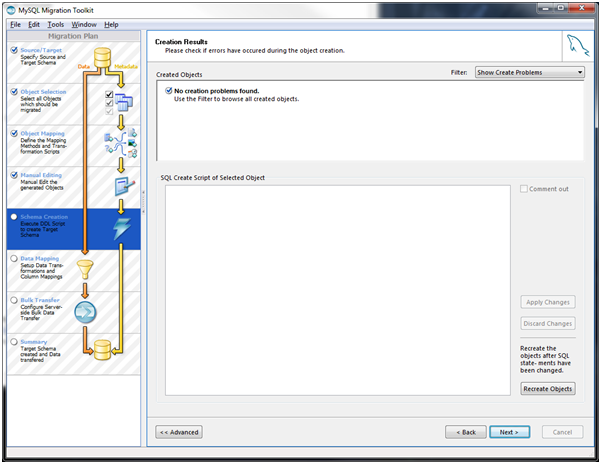
b) Creation Results: (click Next)
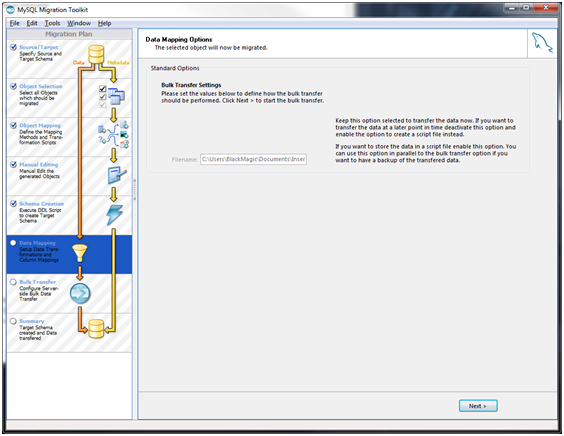
14. Data Mapping Options. Just leave everything as it is, and click next:
15. Bulk Data Transfer. Now the data is being migrated. For large db’s this can take quite awhile:
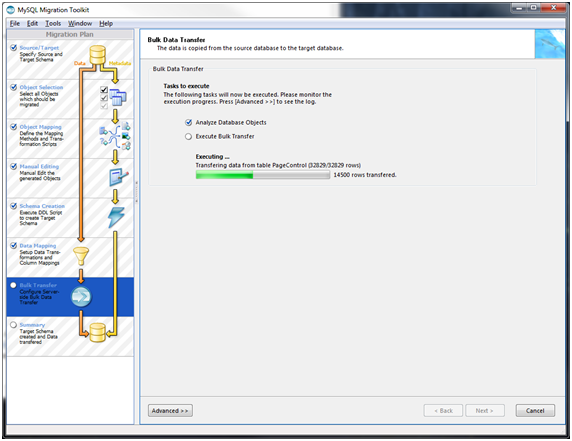
When it completes, you should get “Execution completed successfully” and can click “Next.”
The final screen is just a Summary report, and you can exit the toolkit. At this point, I usually login via phpMyAdmin just to make sure everything came across as expected. I hope you found this tutorial helpful. I know I spent weeks pulling my hair trying to get this to work because the data was not located all in one place like this. Good Luck! And many happy migrations to you!
This is great. I’ve been trying to do this for two weeks now. I’m still having a problem setting up the Source Database in the migration tool. When I click the “…” button to see the databases I can only see the system databases (master, model…). Any thoughts?
I faced the same issue and following trick worked for me –
Enter all your details for the SQL Server
Click on Advanced>> button below
In Connection String text box insert following connection string –
jdbc:jtds:sqlserver://sql_server_ip_address:1433/;Instance=;user=sa;password=PASSWORD;charset=utf-8;domain=
The value of is without the SystemName (maybe – SQLEXPRESS)
http://stackoverflow.com/questions/3917081/how-to-export-ms-sql-database-to-mysql
That sounds like a privs issue, but I’m not sure. I’ve always been able to see a list of all of my db’s when I use the sa account for transfers.
Hmmm. I haven’t encountered that issue either. Are you sure your db was successfully created on your local MSSQL Express server? And that your sa account has privs to it? If you’re seeing the master and model db’s, it sounds like MSSQL was set up correctly.
You did do the section where you use a .BAK file to create your db on the local server, right? I went this route for my project because I was not given access to the actual live db, but I did have access to the backups.
On another note, one problem I did run into was that when I used an old version of MySQL/phpMyAdmin and the incomming MSSQL db was formatted as Innodb there were some translation issues. Those went away with a new (5.5.8) version of MySQL and the 3.3.9 version of phpMyAdmin.
And another caveat I noticed today, for some very complex db’s, make sure you verify each table has data. I’ve noticed that in some cases the import creates the structure correctly, but the table is empty.
In those cases, I was able to export a flat file for that particular table from MSSQL (using TAB for the row delimiter, and Verical Bar as the column delimiter) and then import the flat data file using phpMyAdmin.
Hey Marchosias, I’m facing this challenge, some tables are just created but the data not uploaded. I tried the export flat file route, but it wasn’t working either, I either got “Invalid Row Count” or it uploaded a table full of nulls and some data here and there.
Seems like when I’ve had this happen, you need to make sure that you manually set the import options to be utf8/utf8_charset (or something like that) and not use the ‘default’ settings. Esp. if you’re importing INNODB tables. I think that’s in step 8 of the MySQL import process listed above. I only do that if I’ve had problems getting the import to work, usually the defaults do work, but I’ve had some really odd tables sometimes, and the only way to get them to “play nice” is to force them into utf8 format.
Dude, due, dude.
In all my years of viewing tutorials and online help, I have never commented but this tutorial saved my life.
thank you o much.It worked for me. 🙂
This is definitely useful! Thanks!
This is great. I’ve been trying to do this for a week now.
Thank you so much.You helped me,thank you :))
Thank you for your help, you helped me a lot.
it’s working, thank you
I get the full size of car with the discount.