For my simple product shot, I tried to use only things that I think most folks would have readily available, without having to buy anything special:
- Inexpensive Point-N-Shoot Camera
- Flash Diffuser Material (coffee filter, paper, tissue, etc)
- Flash Reflector (aluminum foil, small mirror)
- Backdrop Material (scarves, shawls, sheets, pillow cases, bath robes, etc)
- A way to drape your backdrop (I used a small table pushed up next to an overhanging shelf)
- And the ‘product’ (I just used a teddy bear for my example)
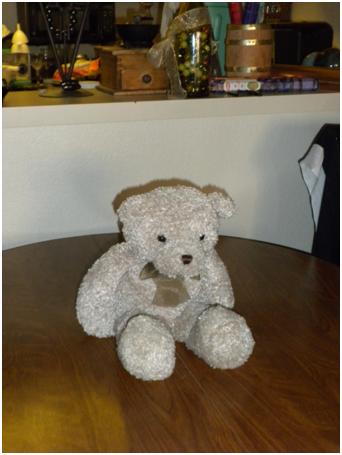
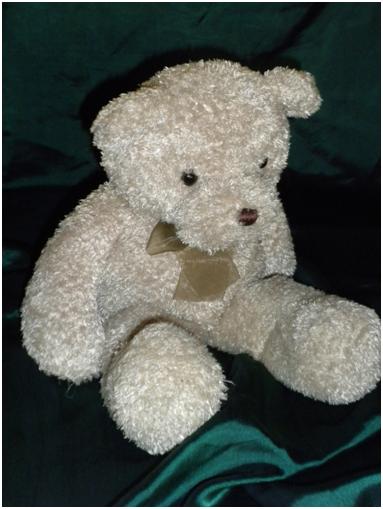
My first shot, without any modifications – just the bear on the table, shows a few of the main problems that we’d really like to take care of when taking product shots at home. The busy background (in my case, my cluttered kitchen is right behind the table), you can see the seam in the table where the ‘leaf’ would go which presents a distraction from the main subject, and the flash on the bear is also pretty harsh. Moving in close de-clutters the shot, but we still have a harsh flash and that table seam really starts to stand out now that we’re so much closer.
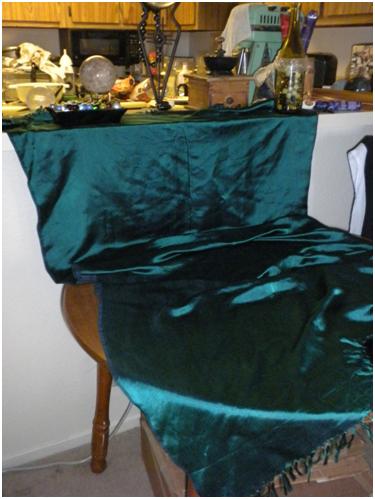
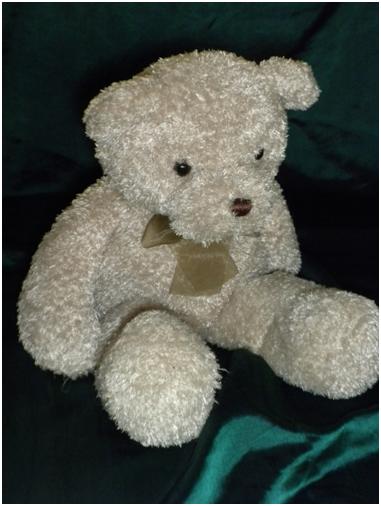
First, we’ll kill two birds with one stone by just using a back drop. This will de-clutter the background, and it also hides the seam in the table. I simply hung my backdrop from the kitchen’s pass-through shelf. A similar effect can be had just about anywhere that you can secure or weight down your back drop – from shelves, a coffee or end table, your dining room table, or even from the backs or seats of chairs.
Here is the backdrop setup and the result:
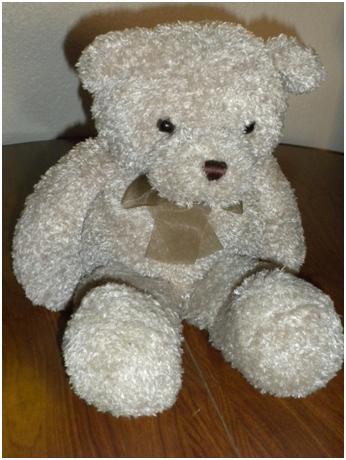
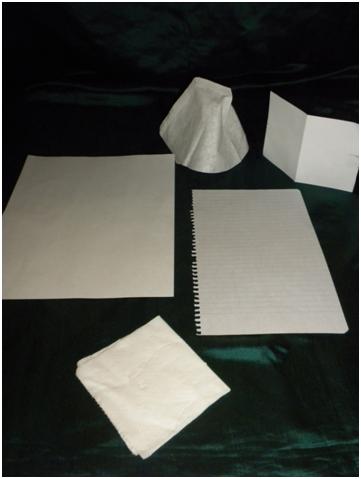
Next we’ll soften that flash by using a homemade diffuser. Any translucent white material will work for this. I prefer white coffee filters because they’re usually a nice white and they’re easy to shape if needed. Other things I’ve used are tissue paper, printer paper, and notebook paper. Tissue paper is probably my next most favorite material to use, but it’s not as durable as a coffee filter.
Here are some various diffusers & my product shot using my coffee filter diffuser:
That looks much better than our first shot! The last thing I want to demonstrate is the use of a reflector. I’m going to use a couple of different reflectors to see what the effect is; a mirror and the shiny side of a piece of tin foil. Foil is definitely easier to work with, since you can shape it, and it’s not breakable, you can pretty much put it wherever you want. However, a mirror will reflect much more light than foil, so if you’re not seeing any ‘fill’ light from foil, you may want to get your hands on a small mirror (they’re very cheap at hobby/craft stores). Using a reflector works best when you’re near a window, or have a strong light coming from one side. On a ‘Point-N-Shoot’ camera, I’ve found it’s very difficult to get a good reflection from the ‘head-on’ style flash. So for this demonstration, I’m going to move to a natural light situation where I have some decent light coming in from my sliding glass doors. It’s not direct sunlight, but it is strong diffuse light, since this door does face South.
I’ve set up the shot in a similar fashion to what we had on the table, only this time I’m using a ‘plant-shelf’ that I have near my patio doors. I’ve simply draped the same drop cloth from one of the upper shelves and spread it on the lower shelf, as seen below;
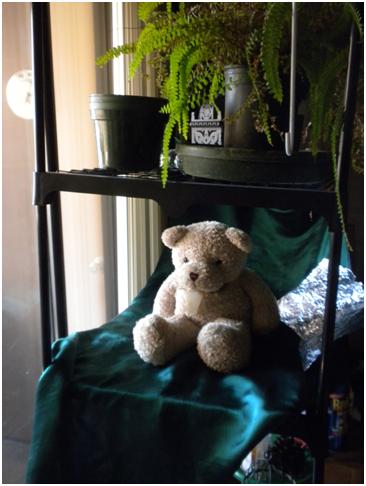
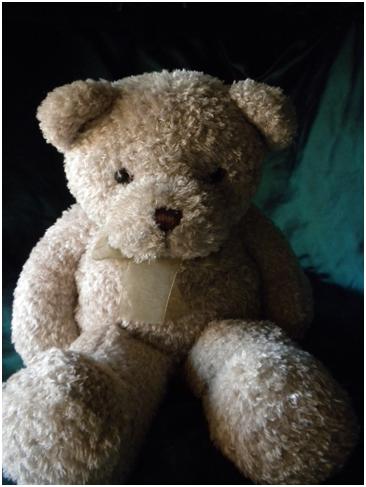
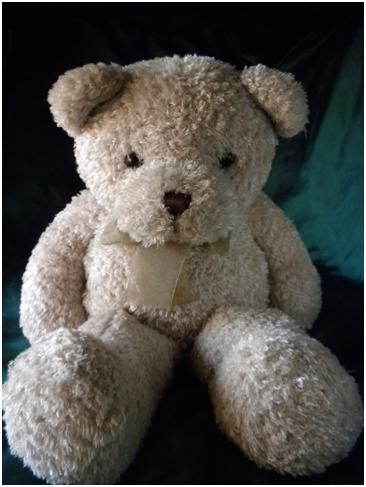
Here’s the comparison between not using a reflector (first pic) and using a simple piece of foil to reflect some light back onto the dark side of the subject (second pic).
And there you have it! All the stuff you need to make great ‘product shots’ from home using simple, everyday props. I hope you’ve found this helpful, and that it inspires you to take out your camera and start experimenting with it. Have fun, and as always, ENJOY!